Connect to WebDAV
Mount a WebDAV server over HTTP or HTTPS and use it like a local folder.
On this page 2 sections
What you’ll accomplish
- Mount a WebDAV server over HTTPS
- Mount it again every time DockDuck opens
DockDuck asks macOS to mount the WebDAV server in /Volumes. Once mounted, it
works like any local folder and appears in the sidebar under Servers.
Connect
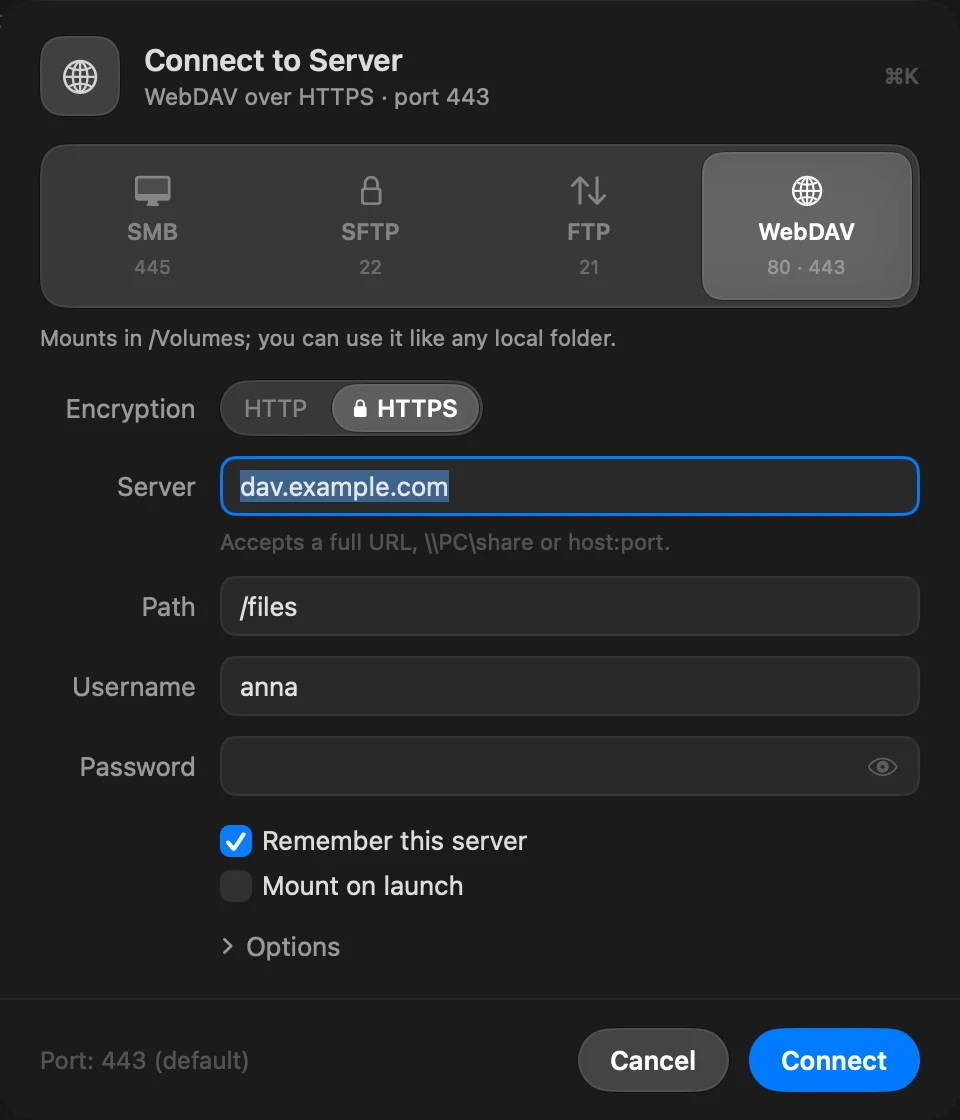
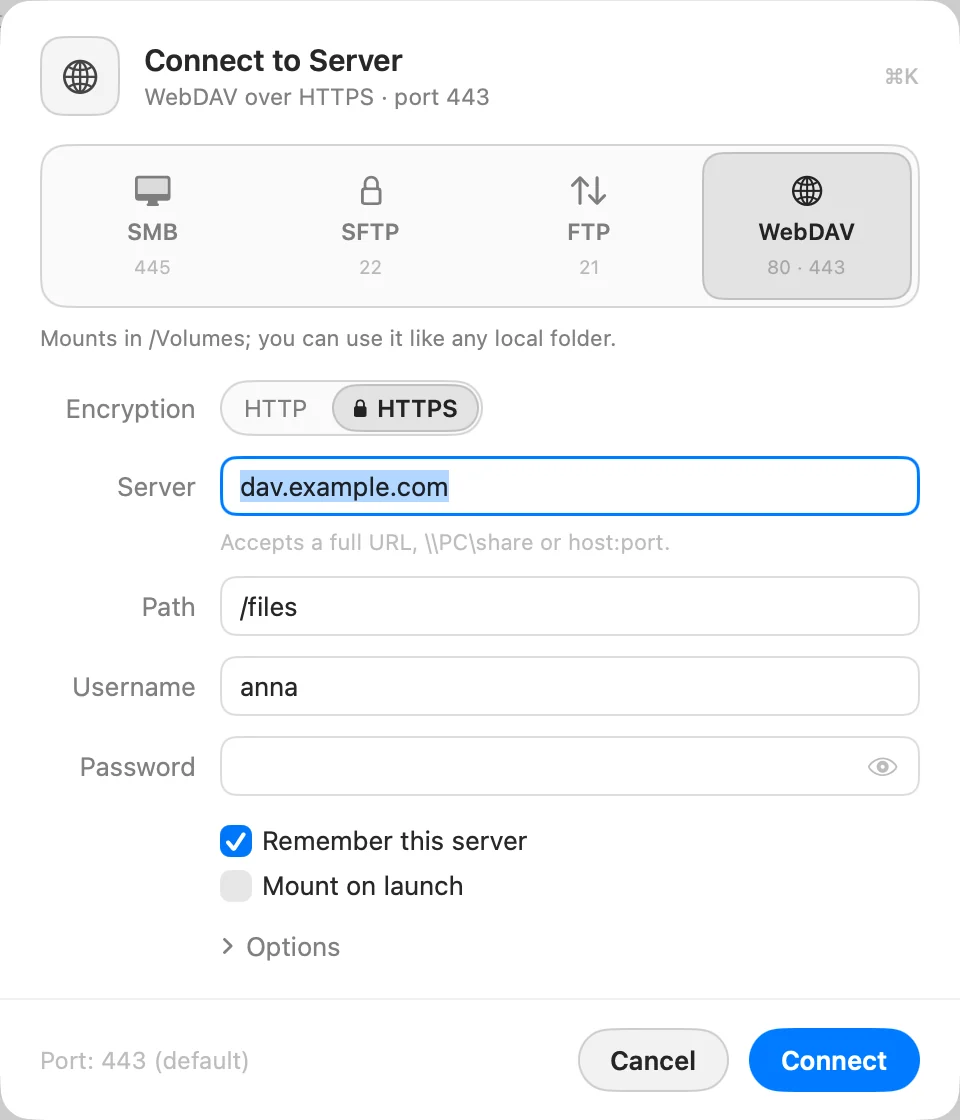
- Open Connect to Server and click WebDAV
Press ⌘K.
- Choose the encryption
Under Encryption, choose HTTPS (port 443) or HTTP (port 80). Choose HTTPS whenever the server offers it.
- Enter the server, path and account
Type the host name in Server and the folder on the server in Path, then Username and Password. For a port other than the default, open Options › Port.
- Click Connect
Turn on Mount on launch to mount it every time DockDuck opens.
Result: The server is mounted and opens in the tab.
You can also type davs:// (HTTPS) or webdav:// (HTTP) followed by the host and
path in the address bar (⇧⌘G).
If something goes wrong
If the server refuses the connection or doesn’t answer, and you chose HTTP, the sheet offers Try HTTPS: many servers only accept HTTPS. See Troubleshoot server connections.
Thanks, that helps us improve this page.